1. Admin Control Panel > CONTENT > CREATE NEW ITEM.

2. Click Insert/Edit Image tool (landscape icon).

3. Insert/Edit Image window > click Source tool.
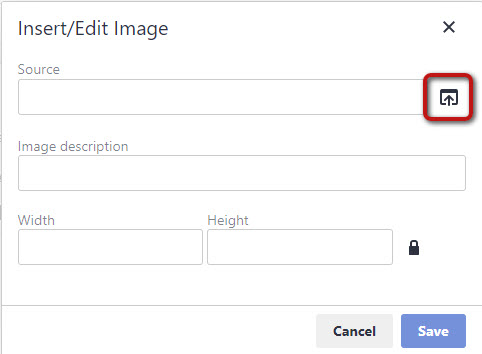
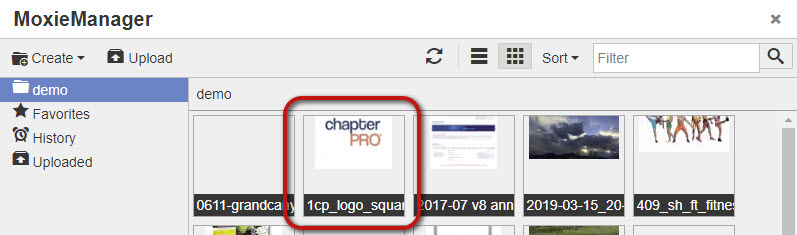
4. MoxieManager window > click Upload.
TIP: If the image is already uploaded to
your MoxieManager, skip to Step
6.

5. Locate the GIF, JPG or PNG file on your computer > click OPEN. Image will be added in alphabetical order in the Moxie
TIP: File must be less than 800 KB. If
larger, save image to smaller file
size, or send to us and we'll reduce
file size and upload to MoxieManager
for you.

6. MoxieManager window > click image to select.
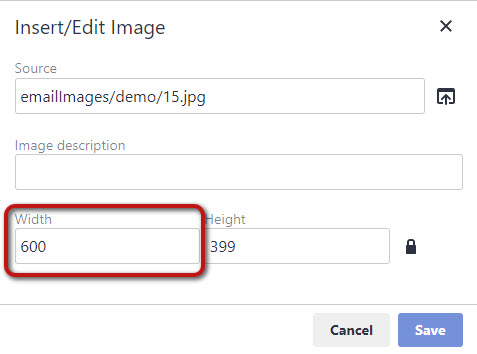
7. Insert/Edit Image window > If the number in Width field is larger than 800, edit to 795 or smaller > click SAVE.
8. Image is inserted into message area. If desired, resize image. Click on corner box and drag smaller or larger.