
1. Admin Control Panel > COMMUNICATION > click SEND EMAIL.
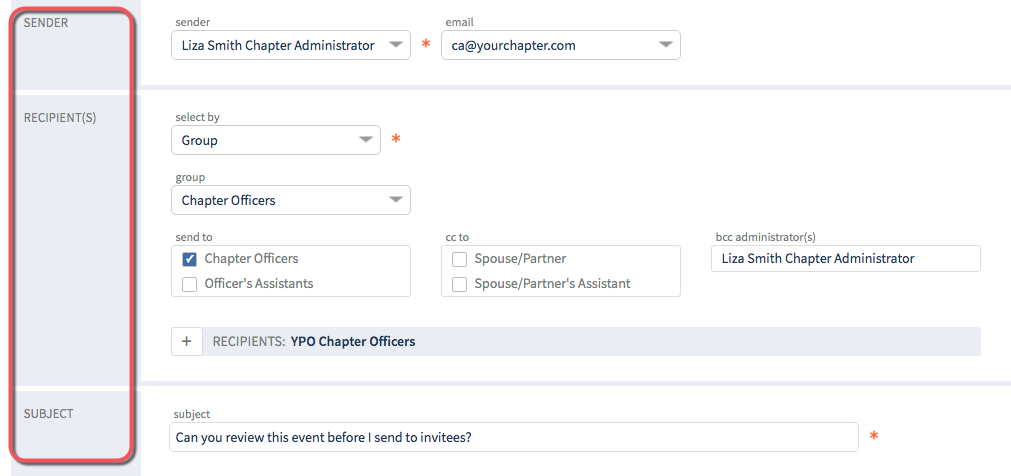
2. Complete SENDER, RECIPIENT(S), and SUBJECT sections.
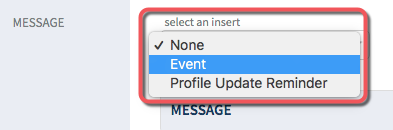
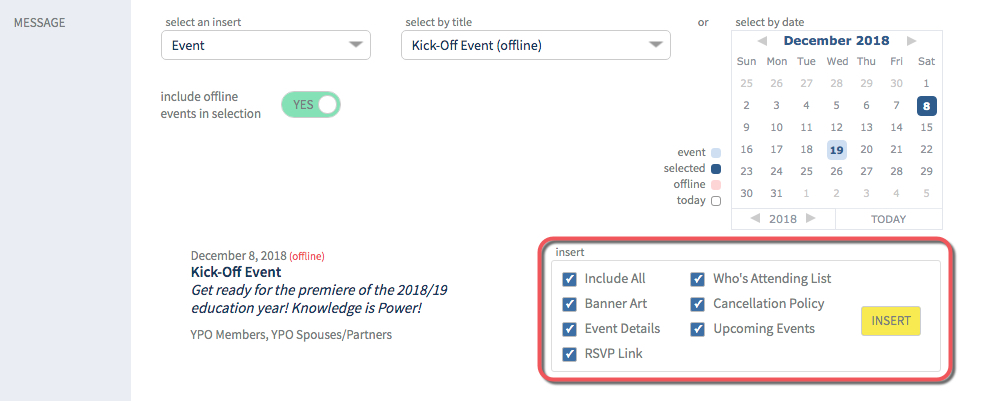
3. MESSAGE > select an insert > select Event.
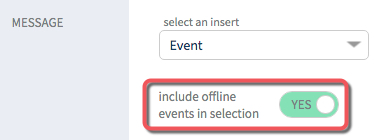
4. Include offline events in selection > click toggle switch to YES.
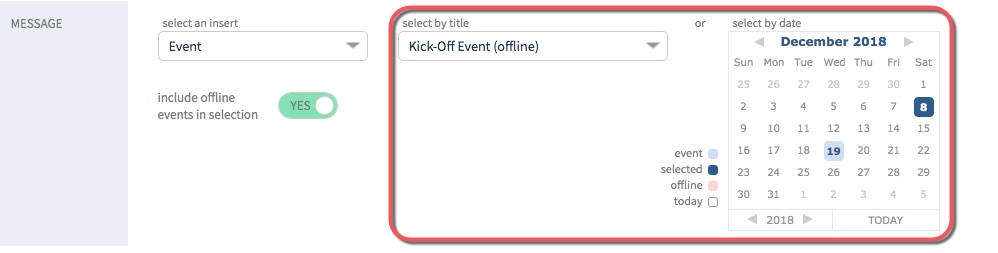
5. Select by title or select by date > click event title or date.
TIP: Select by title menu, event titles include "(offline)". Select by date calendar, offline events have a pink square behind date.
6. Insert > select desired event information > click INSERT.
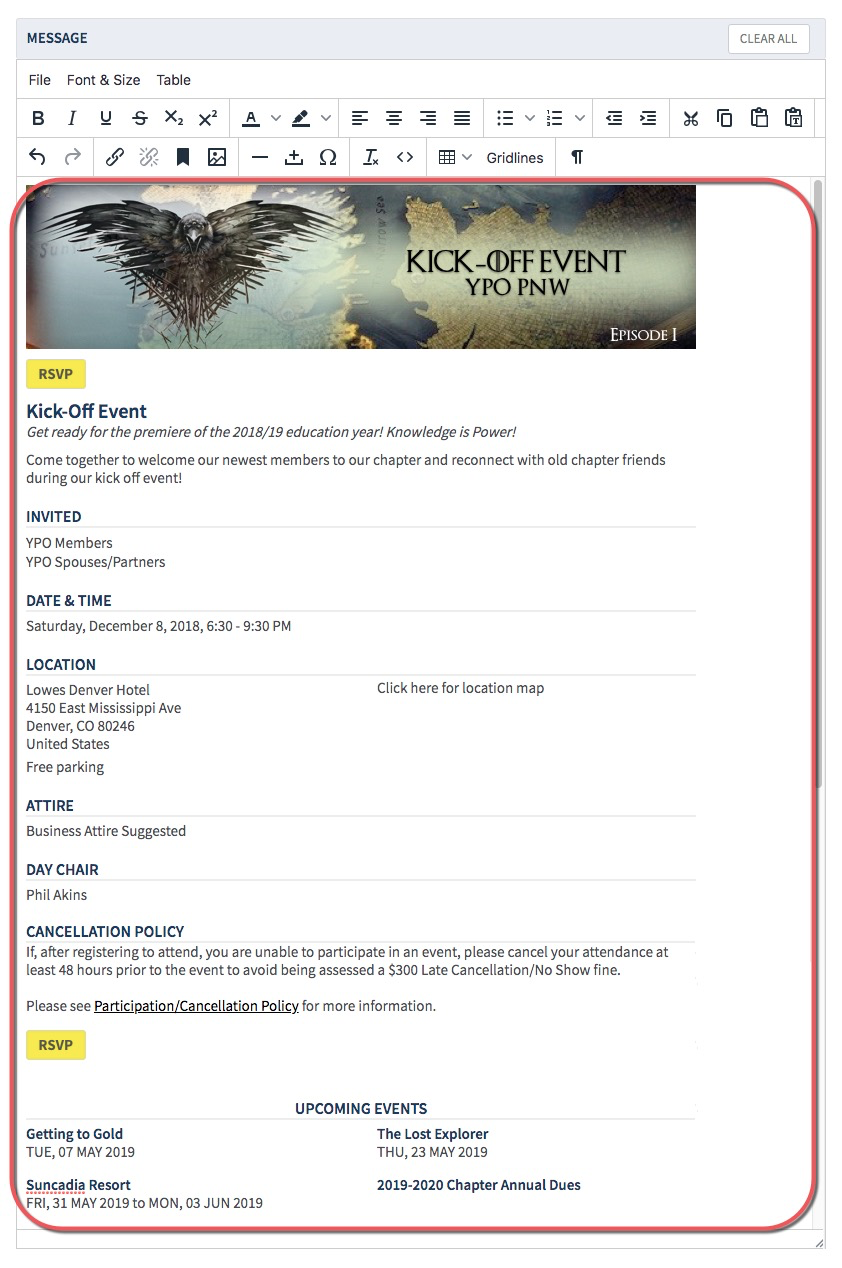
7. MESSAGE > event inserted > edit as needed.
TIP: The yellow RSVP button carries the Login Bypass Feature.
- When you click on the RSVP button, you are directed to the event without having to login.
- Do not edit the RSVP button or Login Bypass is removed.
- RSVP button is active on Offline Events.
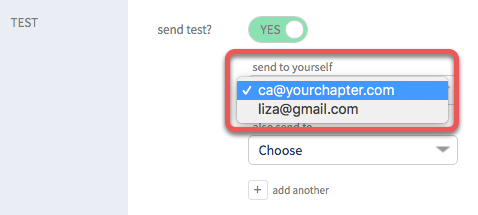
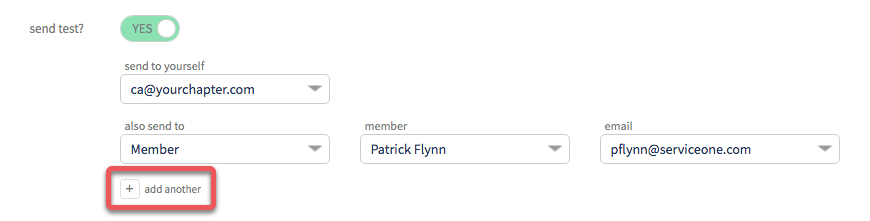
8. TEST > send test? > click toggle switch to YES.

9. send to yourself > choose email if you have multiple email addresses.
OPTIONAL: also send to Administrator, Member, or Spouse
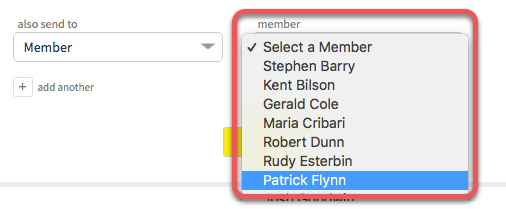
A. also send to > click Choose > make selection.
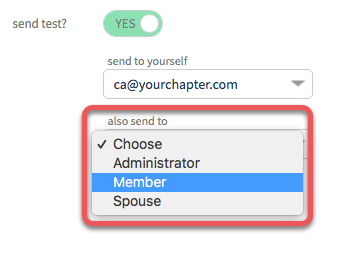
B. administrator, member or spouse > select desired name.
C. *If available > click select email address > select desired email address.

D. Use the + icon to add another.
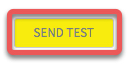
10. Click SEND TEST. View summary > email is saved to DRAFTS folder > go to your email to proof.
11. SEND > ready to send? > click toggle switch to YES.
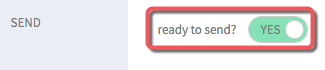
12. Click SEND EMAIL.
